turn-based combat
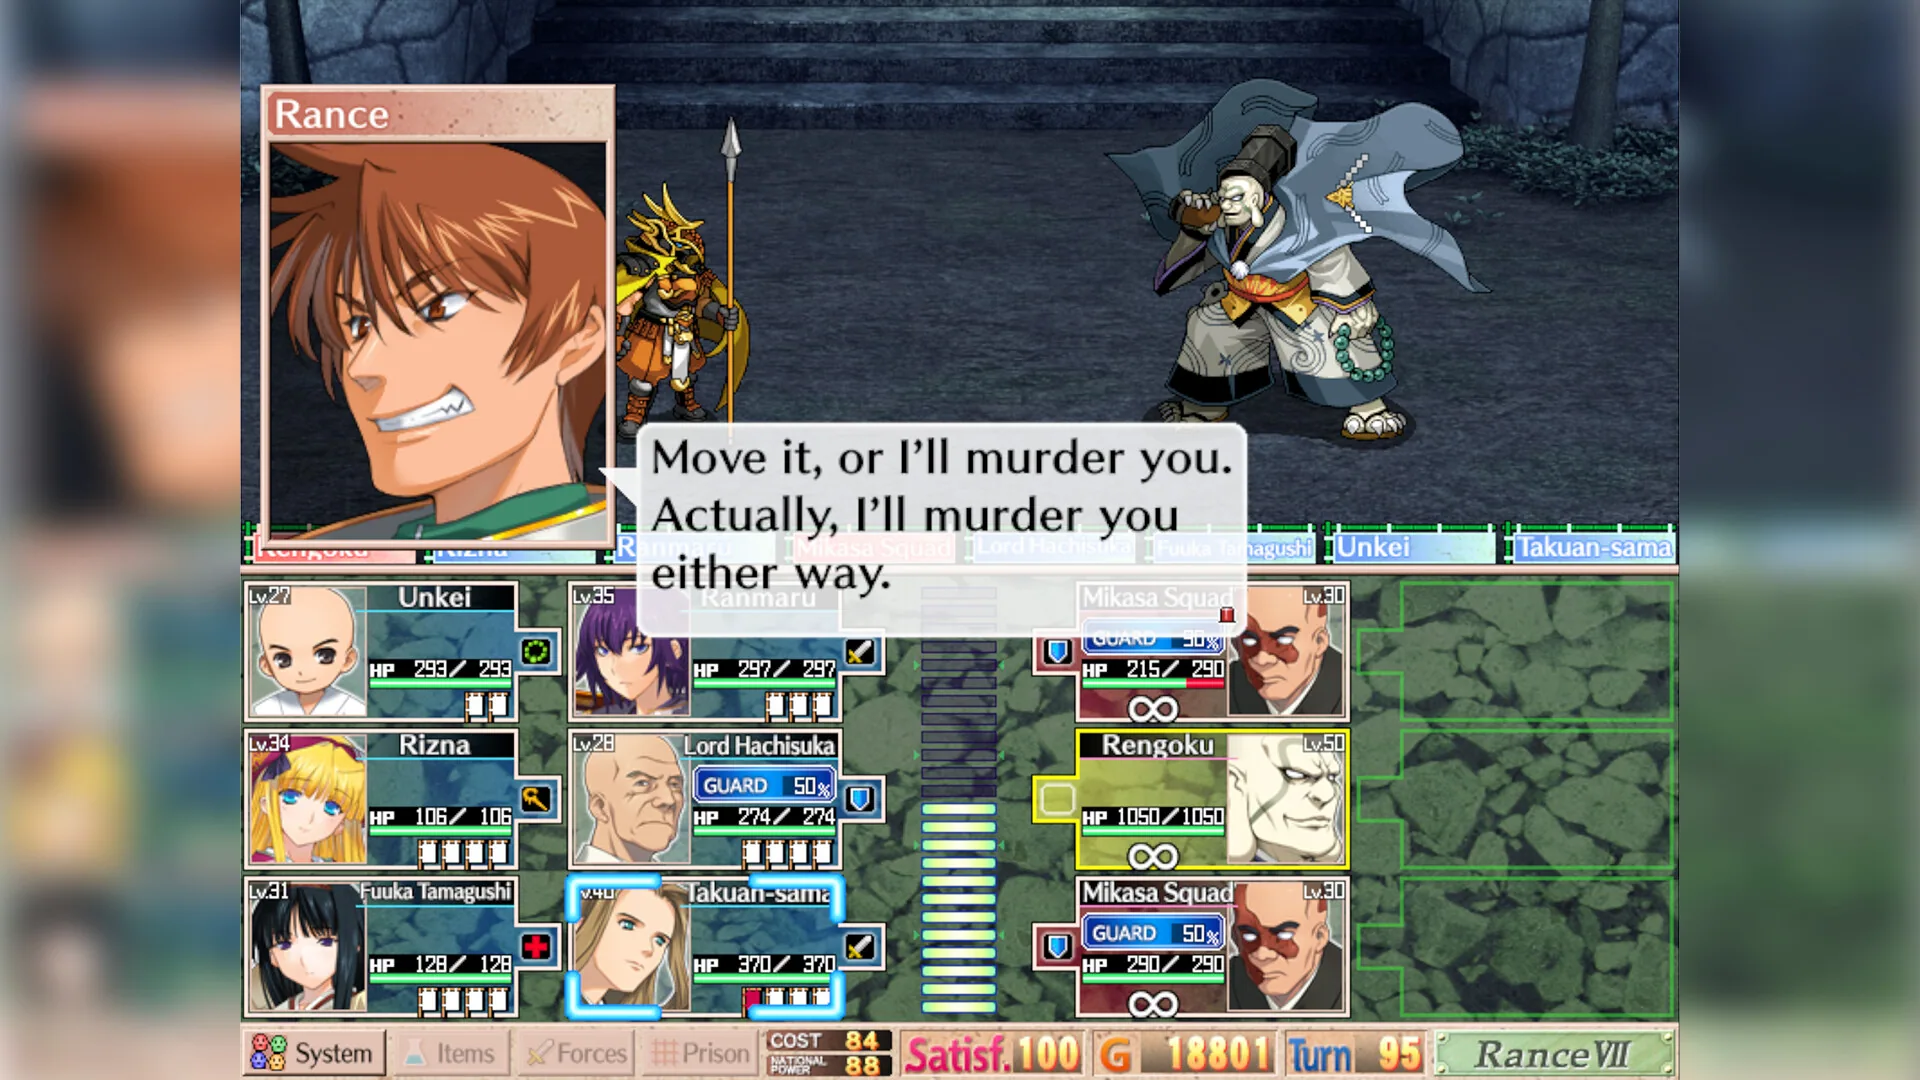
Turn-based combat is the part of the campaign that spends the army you have been feeding. A skirmish is not a separate game mode with its own map. It is the battle that happens when two controllers want the same province, or when a dungeon run has already gone badly enough that the fight comes outside.
You bring the commanders you recruited, the equipment the pits returned, and the national power of the land you are standing on. Redhelm at power 7 is not the same appointment as Yamatai at power 1. The battle system is tactical and turn-based: someone acts, someone answers, and the province either changes hands or it does not.
How a turn actually gets spent
A turn is a choice among the commanders who are present. Rance will take a turn that looks like a duel if you let him. Sill spends a turn on magic because that is the work he has already pushed toward her. Kenshin, leading the Uesugi from the front, spends her turn at the front, not in a tent. The special ability on a unique hero is the reason that turn is not interchangeable with a generic officer's turn.
National power does not roll a die by itself, but it tells you the weight of the appointment before you open the fight. Sado at power 6, with the Sado Gold Mine and two clans already listed, is a crowded battle even before abilities fire. Shikokalamity at power 2, shared by Houjou and Takuga, with no pit, is a lighter appointment and a worse prize. Sort the domain board by power before you march if you want the heavy fights grouped.
Code marks do not swing a sword, but they stop you from treating two power-4 lands as twins. Mikawa is CFFT with a buried cache. Himeji is TFC with Tiger Pit. Both can sit near the middle of a power sort and still demand different kits. Read the code when the power number has already tied them.
Which commanders change the skirmish
Isoroku Yamamoto commanding for the Ashikaga is a different battle from Kenshin commanding for the Uesugi, even if the terrain tile looks similar. She is a Yamamoto princess forced into that role after her clan was destroyed. Her presence is a story fact the fight has to carry. Ran Nanjou brings the failed Houjou succession with her. Nobunaga brings Owari, dango, and a teahouse habit, and Kouhime brings the politics he left on the table.
Recruitment before the battle is therefore part of tactics. If the party is only Rance and whoever stood nearest the gate, you will still get a turn order, and you will spend those turns without the abilities the unique heroes exist to provide. Rance, Sill, Nobunaga, Kouhime, Kenshin, Isoroku, and Ran are the seven leads with a history already attached. Bring the one whose house is already on the province you are attacking, and the fight stops being anonymous.
A generic officer can hold a line. A named commander changes which line is worth holding. Ran's presence makes a Kantou fight about the succession test. Isoroku's presence makes an Ashikaga fight about a destroyed clan. Leave both in reserve and the skirmish still resolves. It resolves without the scene the recruit was for.
Supplies between one fight and the next
Dungeon runs sit between skirmishes and return resources and equipment. The Miso Katsu Dungeon under Owari, Petroleum Pit under Viper Oil Field, and Red Wall Dungeon under Redhelm are three different caches on three different powers. You are not required to clear a pit to start a battle, and you will feel the missing equipment if you never do.
The territory you just conquered is the other supply. A neighboring land pays the domain in whatever it holds: a road like Tokaido with three controllers and no pit, or a mine like Sado. Turn-based combat spends that payment. If the next province is power 7, the equipment from a power-3 pit may not be the kit you wanted, but it is the kit the map offered.
Kachi-Kachi Cave under Kyo and Study Pit under Texas are easy to postpone because their powers are 3 and 5, not 7. Postponing them means the next heavy fight is fought with whatever Owari or Sado already paid. That is a legal choice. It is a poorer kit.
Picking the appointment
Choose the skirmish by reading three cells, not one. Controller tells you who is insulted. National power tells you the weight. The pit tells you whether a reward is sitting under the fight or back on a province you already hold. Edo is power 6, code CCC, Houjou and Takeda, pit Demon City. Texas is power 5, Azai-Asakura, pit Study Pit. Both are real appointments. They are not the same afternoon.
Shared controllers mean a win embarrasses two houses. Tokaido lists Imagawa, Takeda, and Tokugawa. Taking it is one battle with three names on the grievance. A single-controller land such as Shinano, Takeda only, power 4, code FFFT, no pit, is cleaner and poorer. The turn-based fight itself still resolves in turns. The difference is who remains on the map when the last turn ends.
Demon City under Edo and the Satomi Empire under Kazusa 2000 are both Houjou-and-Takeda pits, and they are not the same job. Edo is power 6 and code CCC. Kazusa 2000 is power 3 and code FFC. Winning the lighter one does not hand you the heavier capital. Plan them as two appointments that happen to share controllers.